Stamp-A-Ma-What?
Have you ever been stamping something and wished you could line it up perfectly? And you try over and over, and you just can't quite get it right? ME TOO! I have had this darn thing sitting around my house for*evah* and had never used it. OMG!!! Whatever did I do without it? What is this "darn thing" you ask? Why, it's the Stamp-A-Ma-Jig! (SAMJ)
Now, how to use it? EASY!!!!! The SAMJ comes with a clear piece of plastic called an Imaging Sheet. It has a smooth side and a textured side. Use your dye-based inks on the smooth side and pigment inks on the textured side.
Enough with the "what is it"s - I'm a visual person you say... Okay, so here ya go: 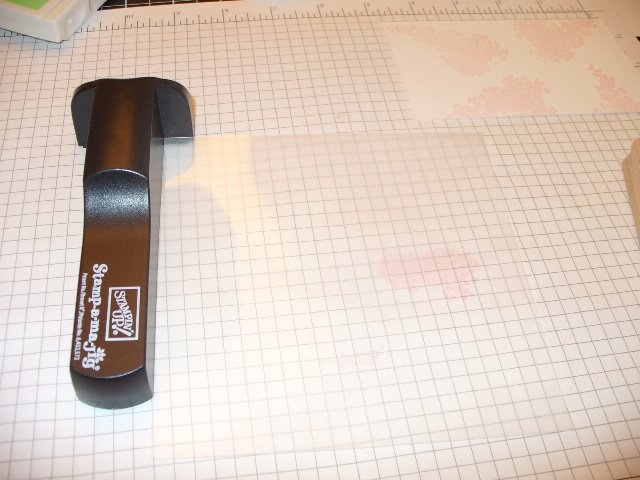
First you need to align your plastic piece in the corner of your SAMJ. Ink up your stamp and stamp your image - placing your block completely in the corner of the SAMJ.
Your imaging sheet now has a stamped image that you can use to line up the placement of your stamps. In my samples, I used Stampin' Up!'s Blossoms Abound stamp set. I stamped the first image in Pretty in Pink and then wanted to line up the second layer to stamp in Rose Red.
I layed the imaging sheet directly over my PIP stamped image, lining it up exactly where I wanted it. Without moving the imaging sheet, I placed the SAMJ so that the imaging sheet was aligned in the corner.
Leave the SAMJ in place and remove the imaging sheet, ink your rubber and stamp.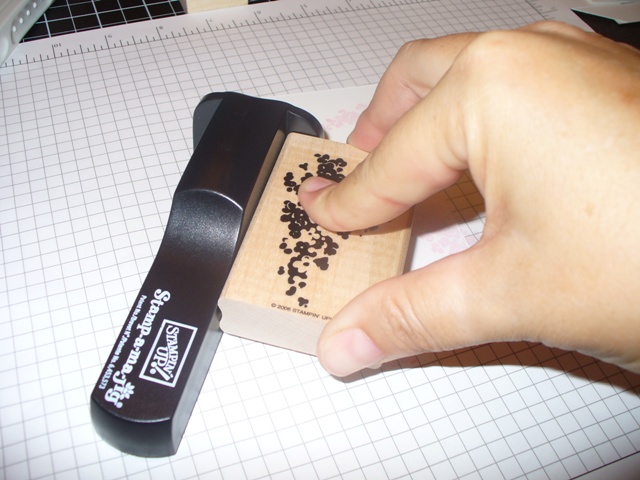
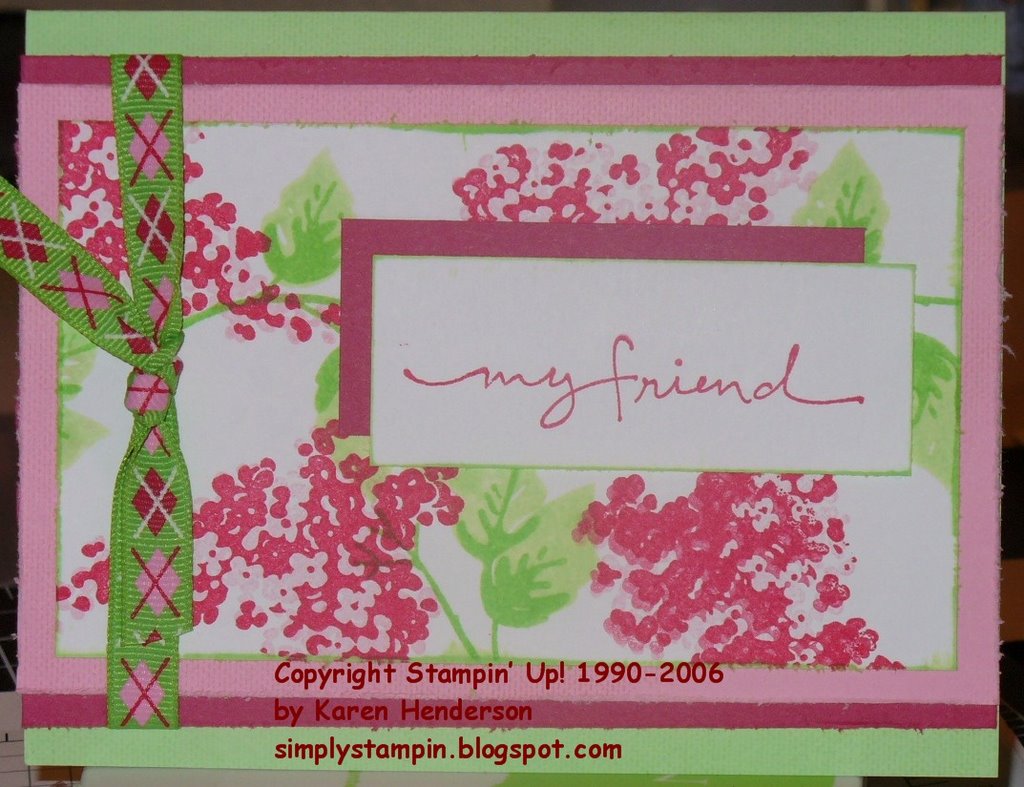
Voila - a perfectly placed image every time!
Products used:
All products by Stampin' Up! unless otherwise noted.
Stamps: Blossoms Abound, Linen
Cardstock: Gable Green, Rose Red, Pretty In Pink, Whisper White
Classic Ink: Gable Green, Green Galore, Rose Red, Pretty In Pink
Accessories: Cutter Kit, non-SU! ribbon
Thanks for looking!


No comments:
Post a Comment